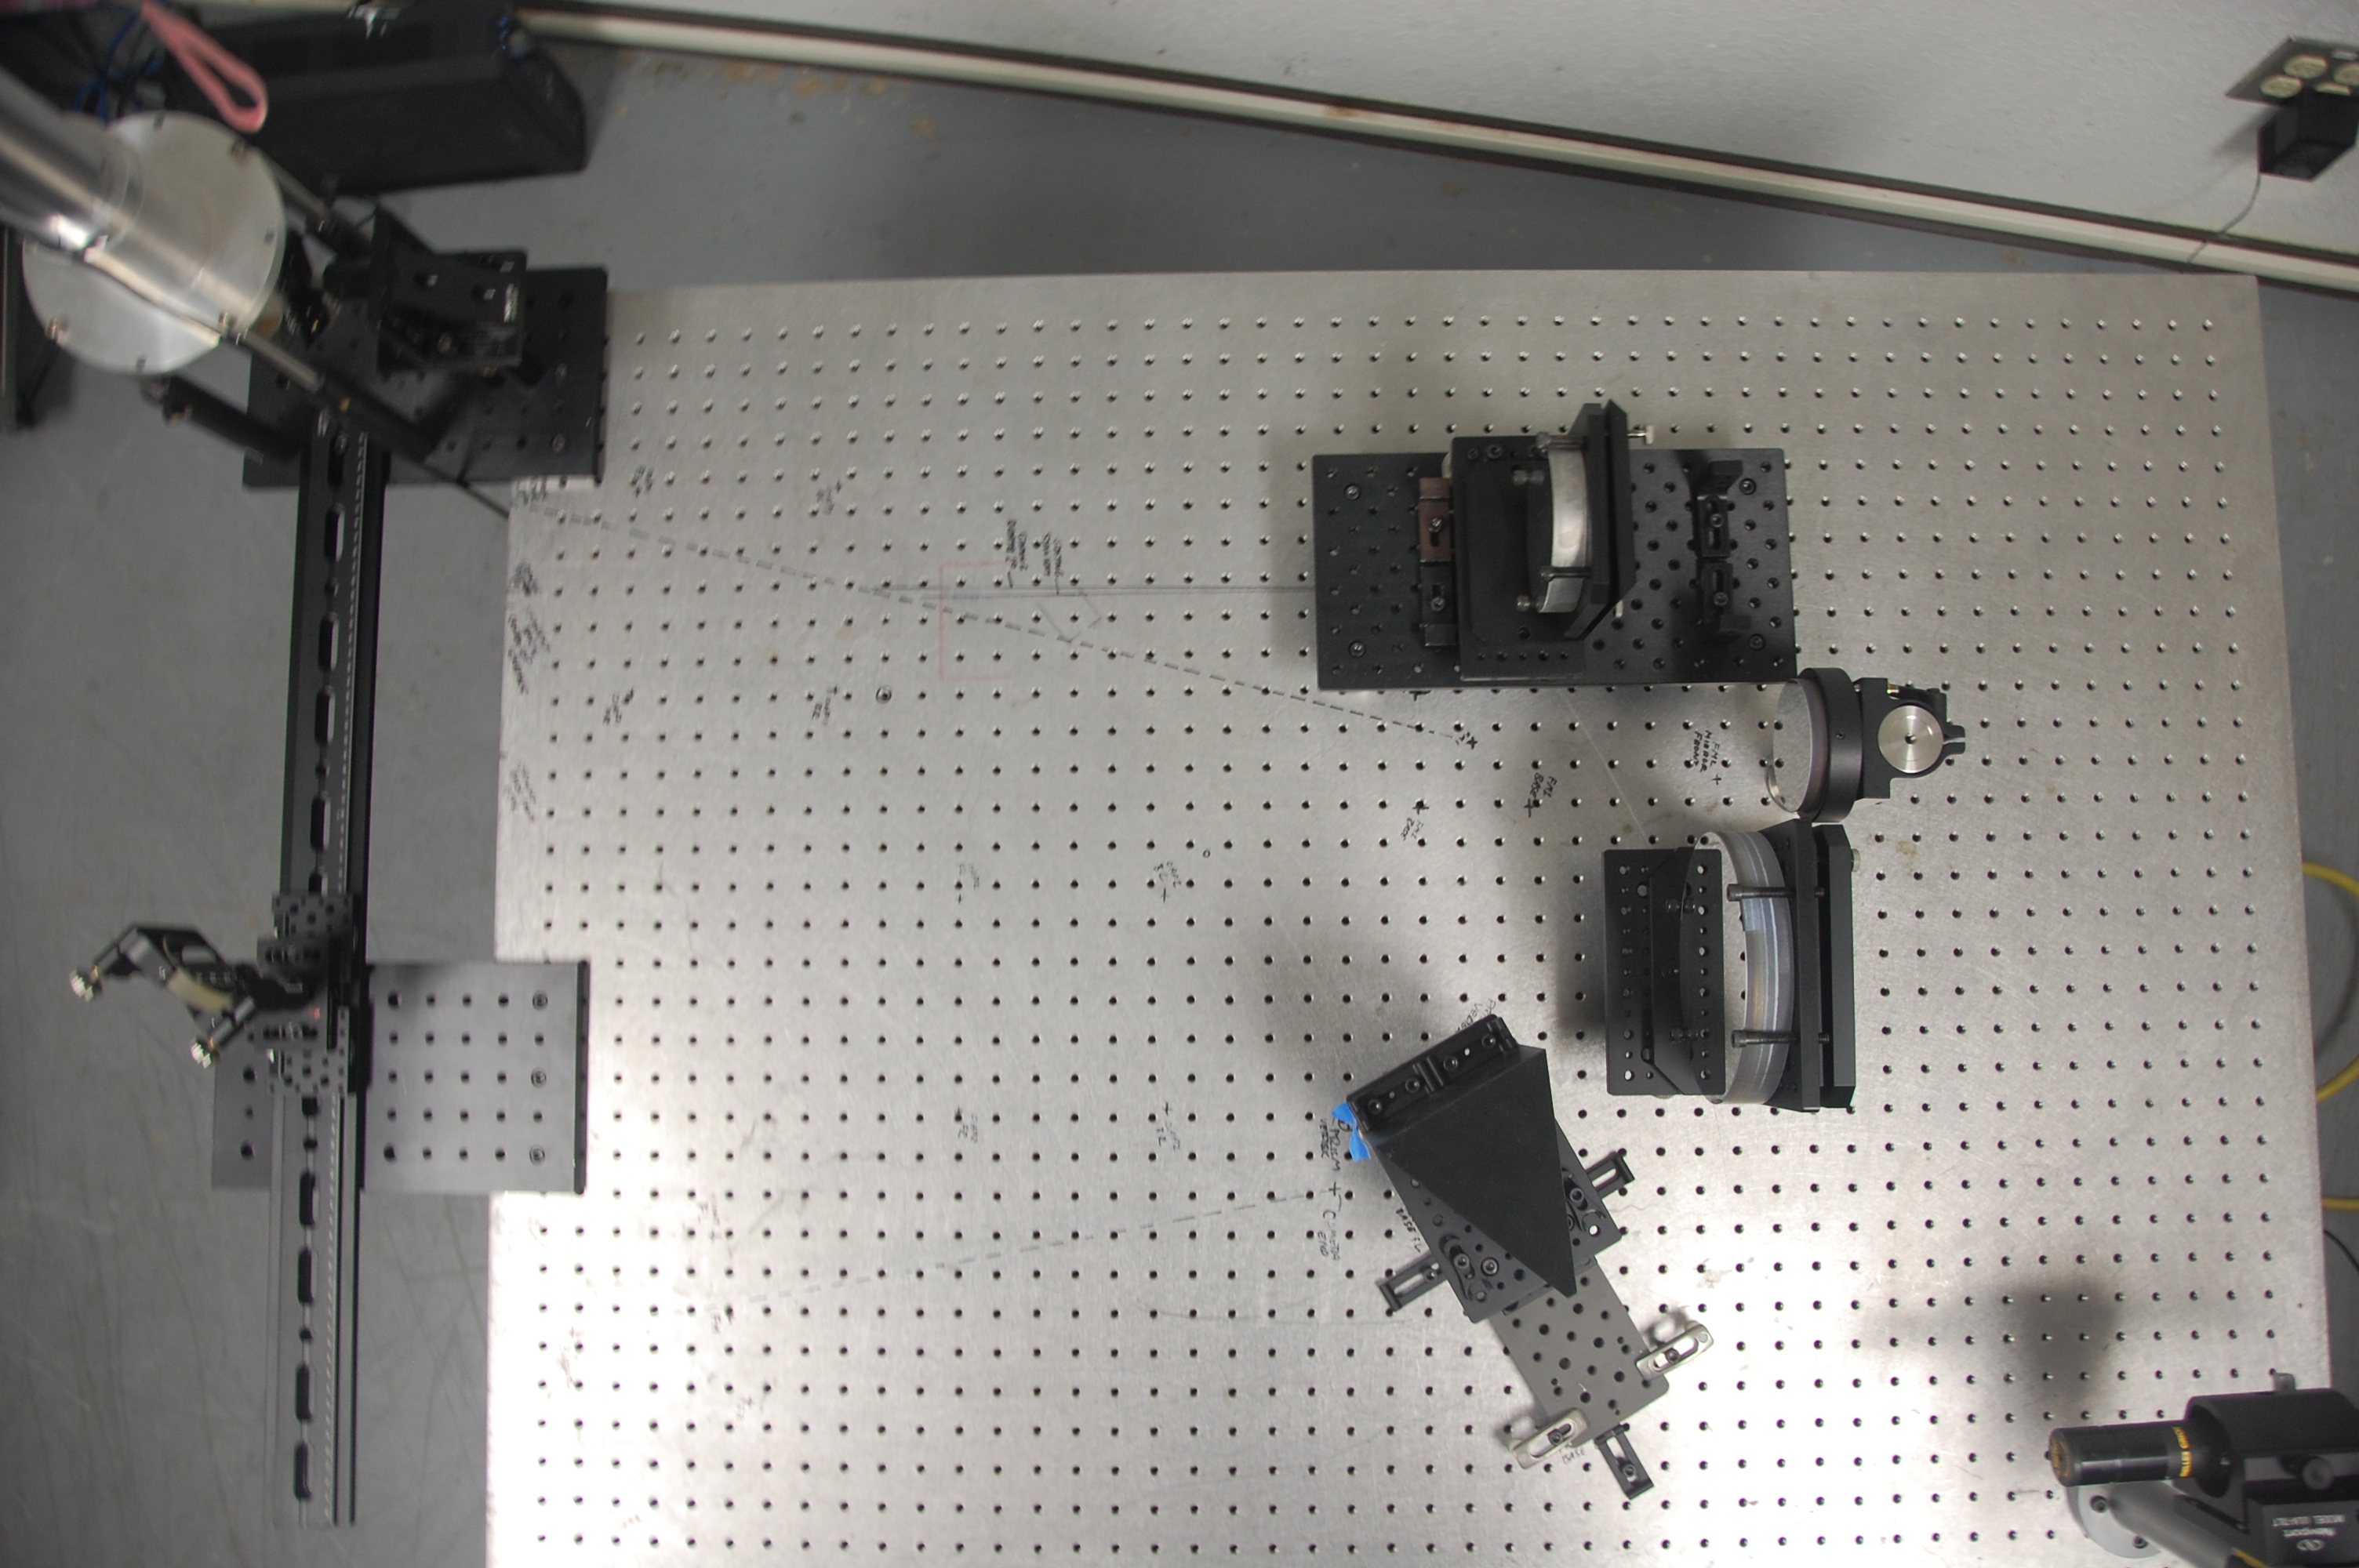
song_spectrograph_assembly
This is an old revision of the document!
Table of Contents
Room requirements/setup
Optical bench mounted on active support system: PFA51507 - 700 mm (27.5“) Active Isolation Frame 900 x 1200mm (36” x 48“). Requires compressed air regulated to 50-100 psi.
External table/shelf for camera pump, computer relay/thermister/watchdog (on DIN rail?)
Power needed for:
- computer (and monitor for testing)
- power supply for QHY camera (power to camera is routed through watchdog with relay reset)
- power for cooling pump
- power for alignment laser
- power for LED source
- power for FPU iodine stage (FPU testing only)
- power for FPU calibration stage (FPU testing only)
- power for calibration box (FPU testing only)
- power for high voltage source (FPU testing only)
- power for iodine cell temperature controller (FPU testing only)
Ethernet connection needed for spectrograph computer.
USB:
- USB3 to hub : alignment camera, autocollimator camera, Esatto focuser, Zaber stage (FPU testing only), Atik camera (FPU testing only)
- USB2 to hub: QHY power relay, QHY thermister, keyboard, mouse
- USB3 : QHY camera
Spectrograph components
- 4×3 foot optical table on vibration isolation legs
- upper table and legs
- input fiber unit
- input LED source
- 100mm lens assembly
- (removable) beam splitter
- laser input
- (removable) beam splitter
- slit viewing camera
- right angle unit and 100mm (?) reimaging optics
- slit
- collimating telescope mount, rail with two diagonal mirrors
- FM1 and mount
- OAP1 and mount
- grating and mount and grating mirror and mount
- FM2 and mount
- OAP2 and mount
- FM3 and mount
- prism and mount
- camera and mount
- ESATTO focusser
- QHY camera
- liquid cooling system
- computer and monitor
SONG spectrograph assembly
- Prepare optical table with acceptable support and sufficient access on all sides (while attempting to minimize total footprint
- position legs
- put table on legs
- connect compressed air (50-100 psi)
- adjust valve on leg D to get ~9mm clearance from bottom of table to leg structure (takes a few minutes for air to raise table)
- ajust valves on legs C and B to get level table
- Mark optical table with locations of mounts based on lab measurements
- Install collimating telescope behind table.
- install laser for collimator mirror alignment at far corner of table
- adjust laser to ensure correct height and (175mm?) light parallel to table. Use pentaprism to get long baseline measurement of beam height at ~2 table lengths with reflection, Laser to pentaprism on top of tube with 1-inch circular mirror at bottom, then light comes back up and back towards laser: rotate pentaprism slightly to measure height with measuring stick.
- Adjust diagonal mirrors to ensure proper alignment
- far diagonal tip-tilt to retun laser back to source
- rotate far diagonal to direct towards diagonal under collimator
- adjust diagonal under collimator to get beam in collimator.
- set up upper table on main optical bench in correct location. Install:
- fiber input,
- collimating assembly. Check with auto-collimator.
- laser input via removable beam splitter,
- camera output via removable beam splitter, Check with auto-collimator?
- output focusing lens.
- Check alignment with laser, ensure camera functionality. Install slit to ensure focal plane is at desired height above optical table
- Install FM1 at desired height. Position to get desired deflection angle
- Install grating mirror and align with collimating telescope
- Install FM2 and align with collimating telescope (do now to ensure consistency with grating mirror)
- Install FM3 and align with collimating telescope (do now to ensure consistency with grating mirror)
- Install OAP1. Adjust initial height and tilt using autocollimator off mirror on back of mount. Adjust lateral so laser falls at appropriate location on the OAP (52mm from edge?).
- Align OAP1 using 10micron fiber input to minimize aberration
- Rotate spectrograph mirror to get 15mm separation between input and output laser. Adjust further to ensure that reflected beam misses FM1.
- Install OAP2. Adjust initial height and tilt using autocollimator off mirror on back of mount. Adjust lateral so laser falls at appropriate location on the OAP.
- Rotate FM3 so that return beam goes back into camera.
- Align OAP2 using 10 micron fiber input to minimize aberration
- Install prism. Rotate FM3 to ensure correct beam location
- Install camera. Adjust to ensure correct beam location: no light falling outside any optic
- Image cross-disperser fiber. Ensure expected width. Adjust detector to make vertical spectrum. Rough prism adjustment to get laser at correct location on detector.
- Install grating.
- Adjust grating tilt and prism to ensure good spectral coverage: grating so that peak of blaze function near center of detector, and prism to ensure good wavelength coverage.
song_spectrograph_assembly.1746122612.txt.gz · Last modified: by holtz


